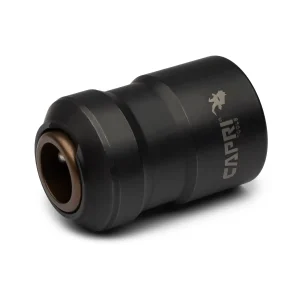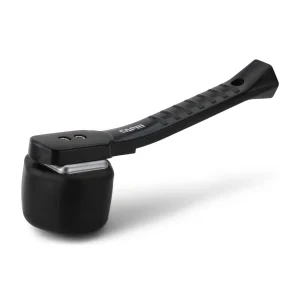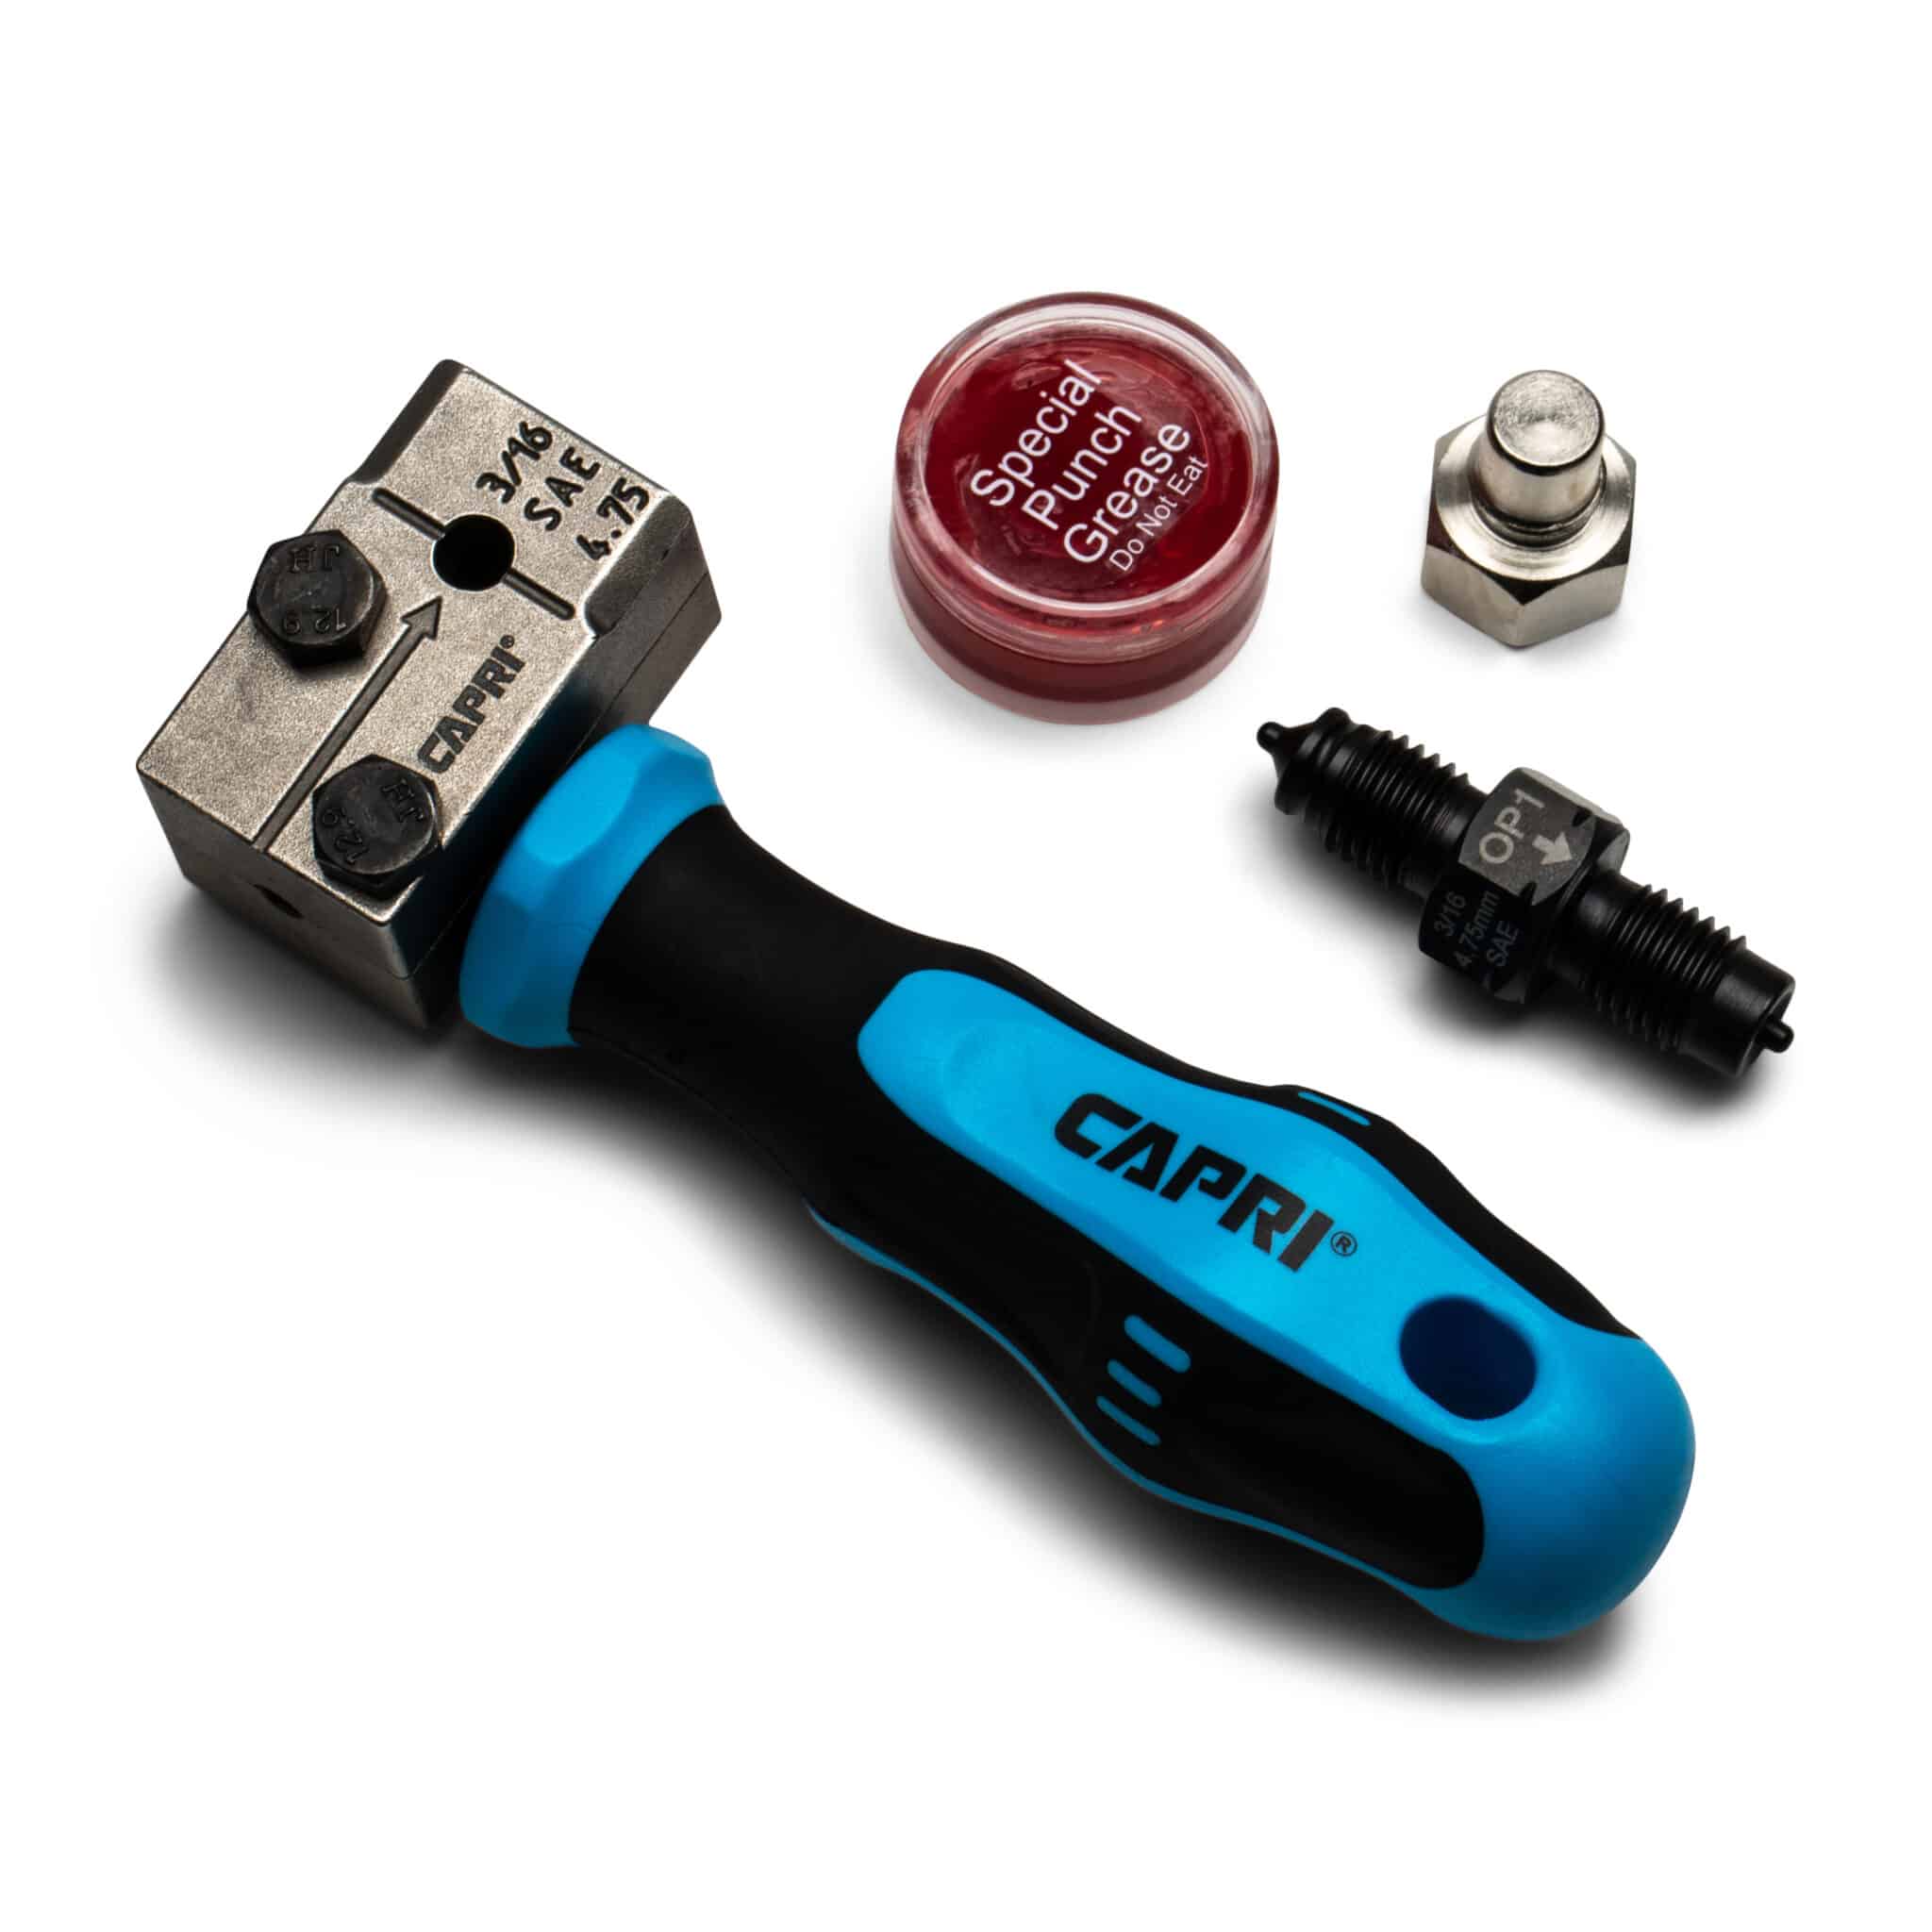
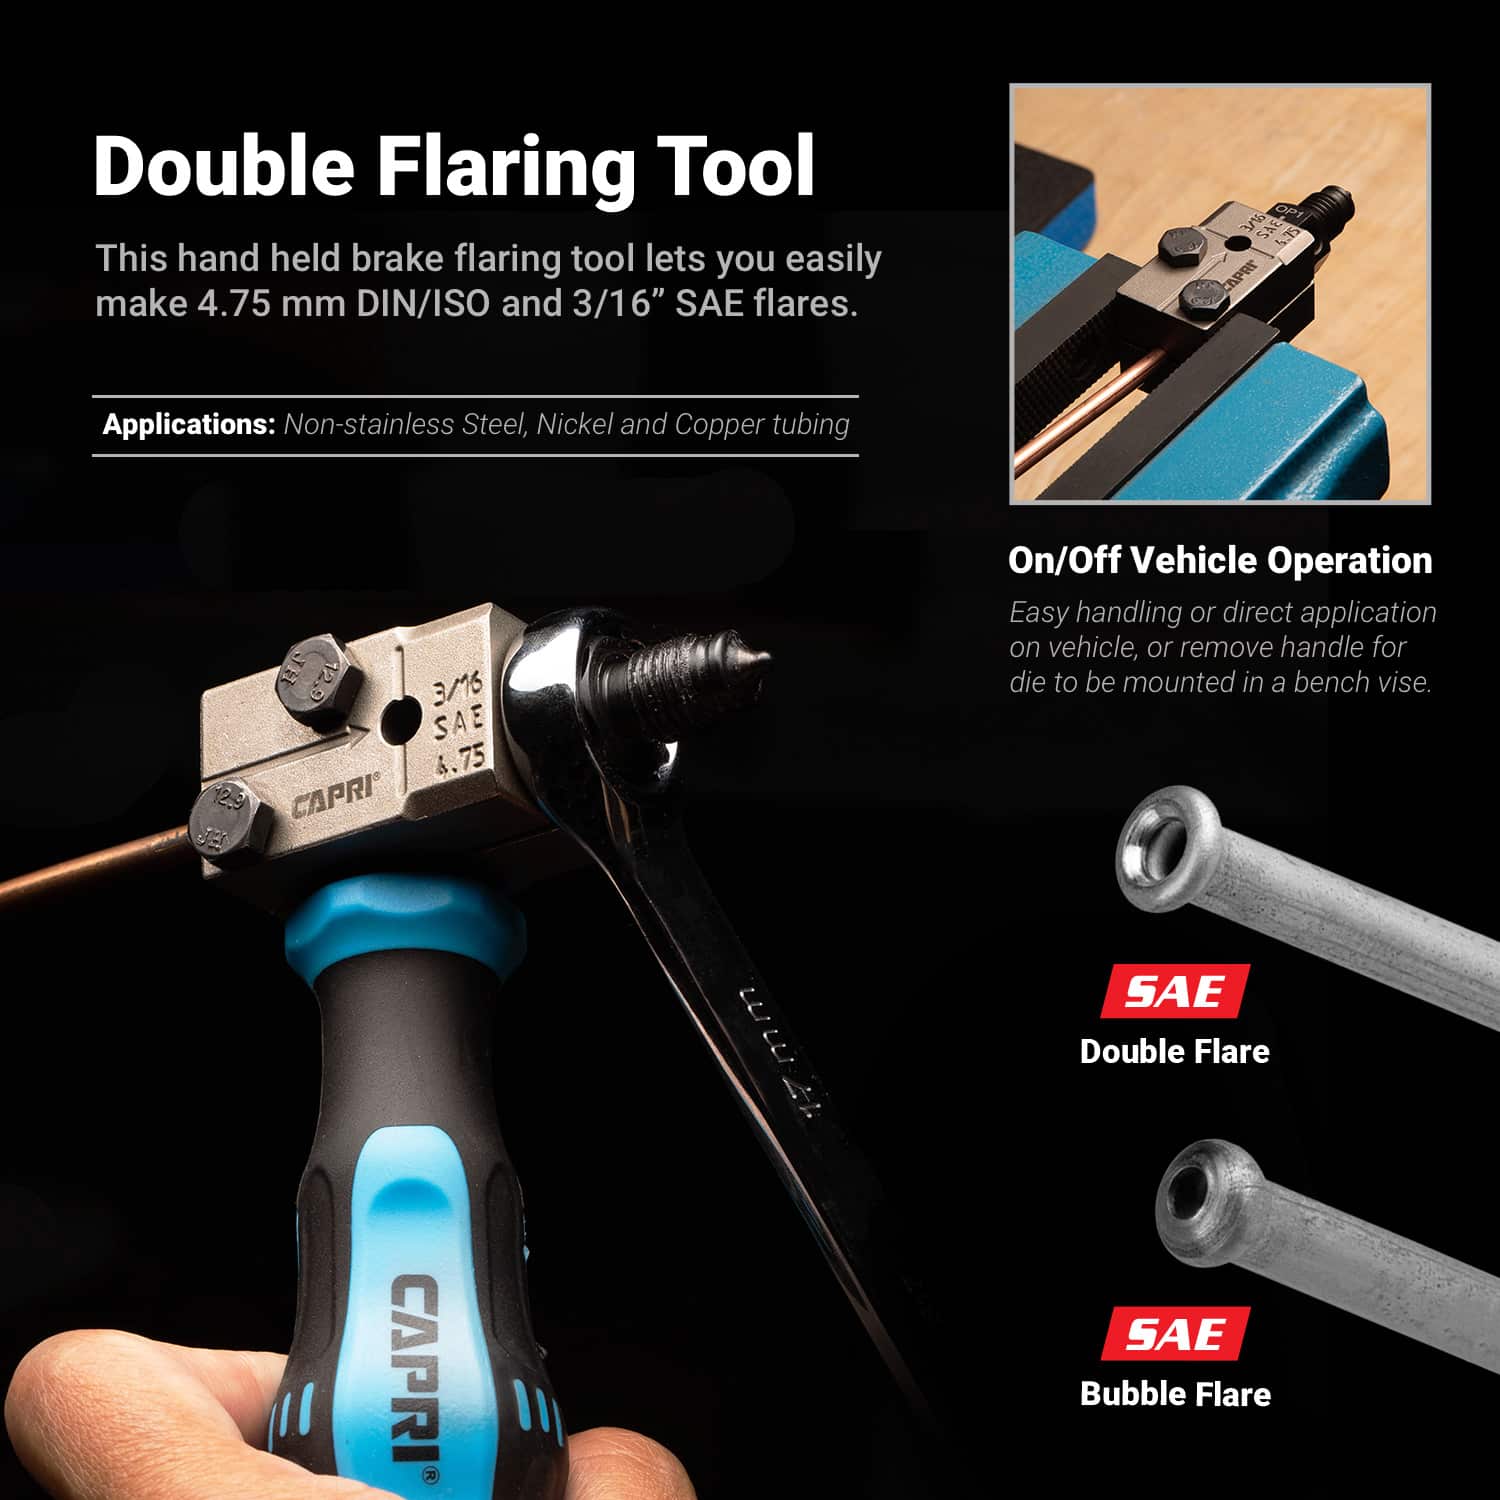
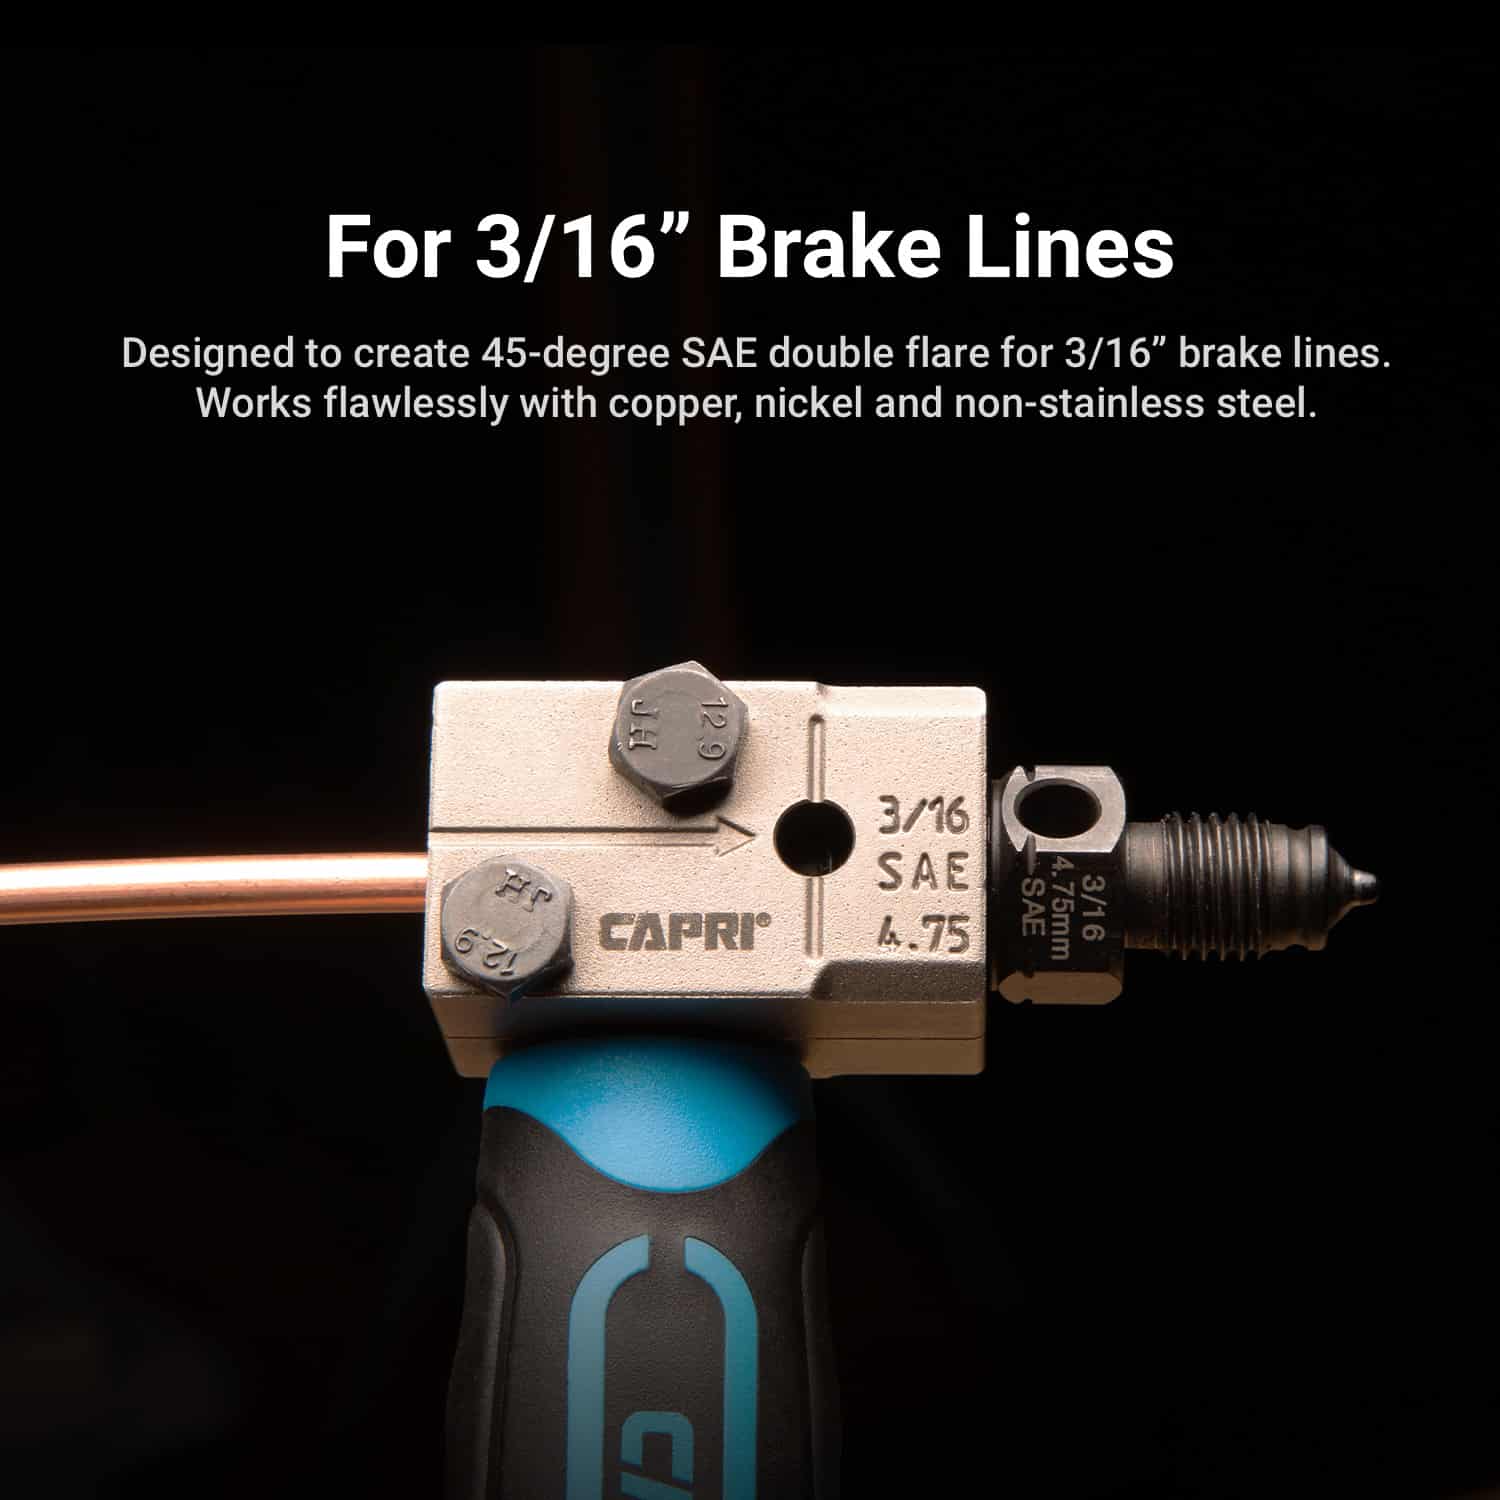
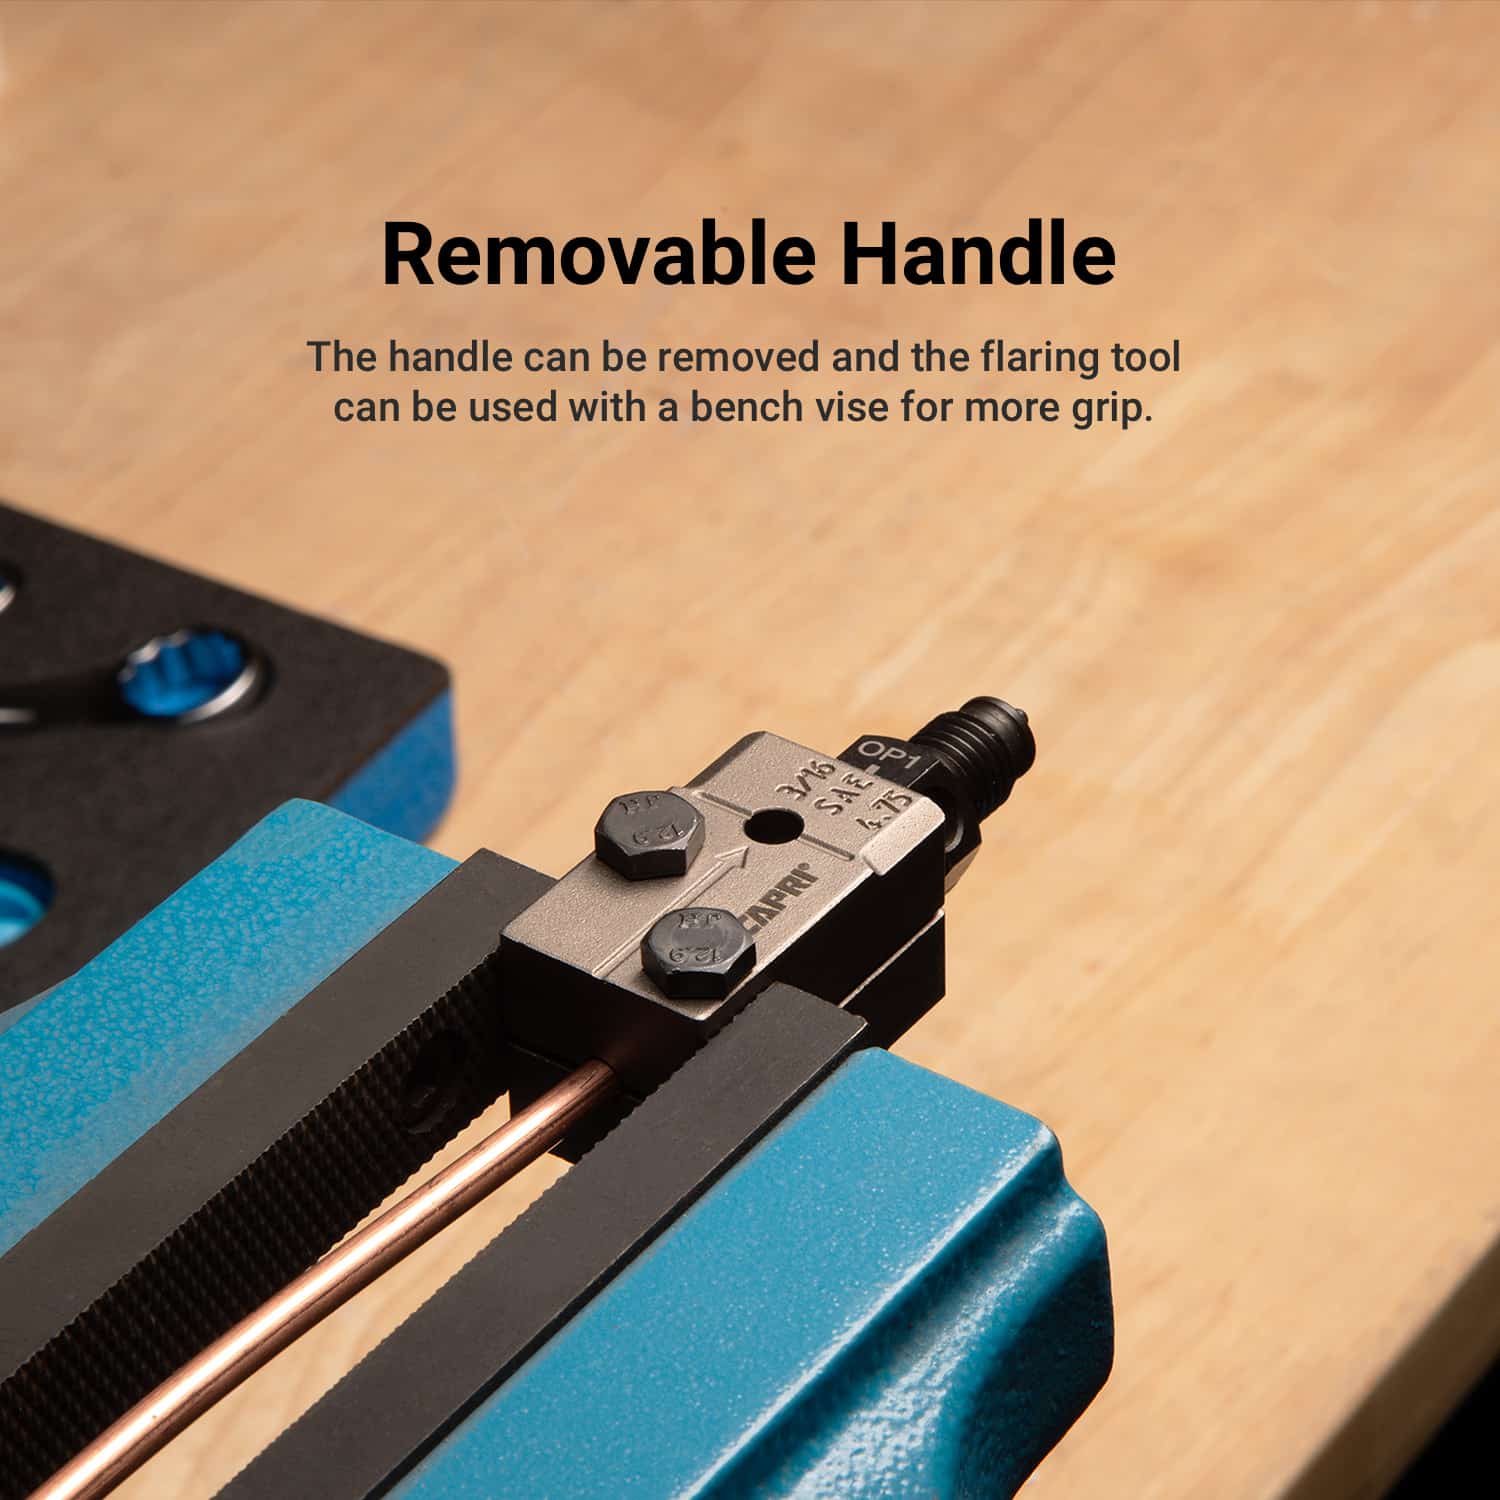
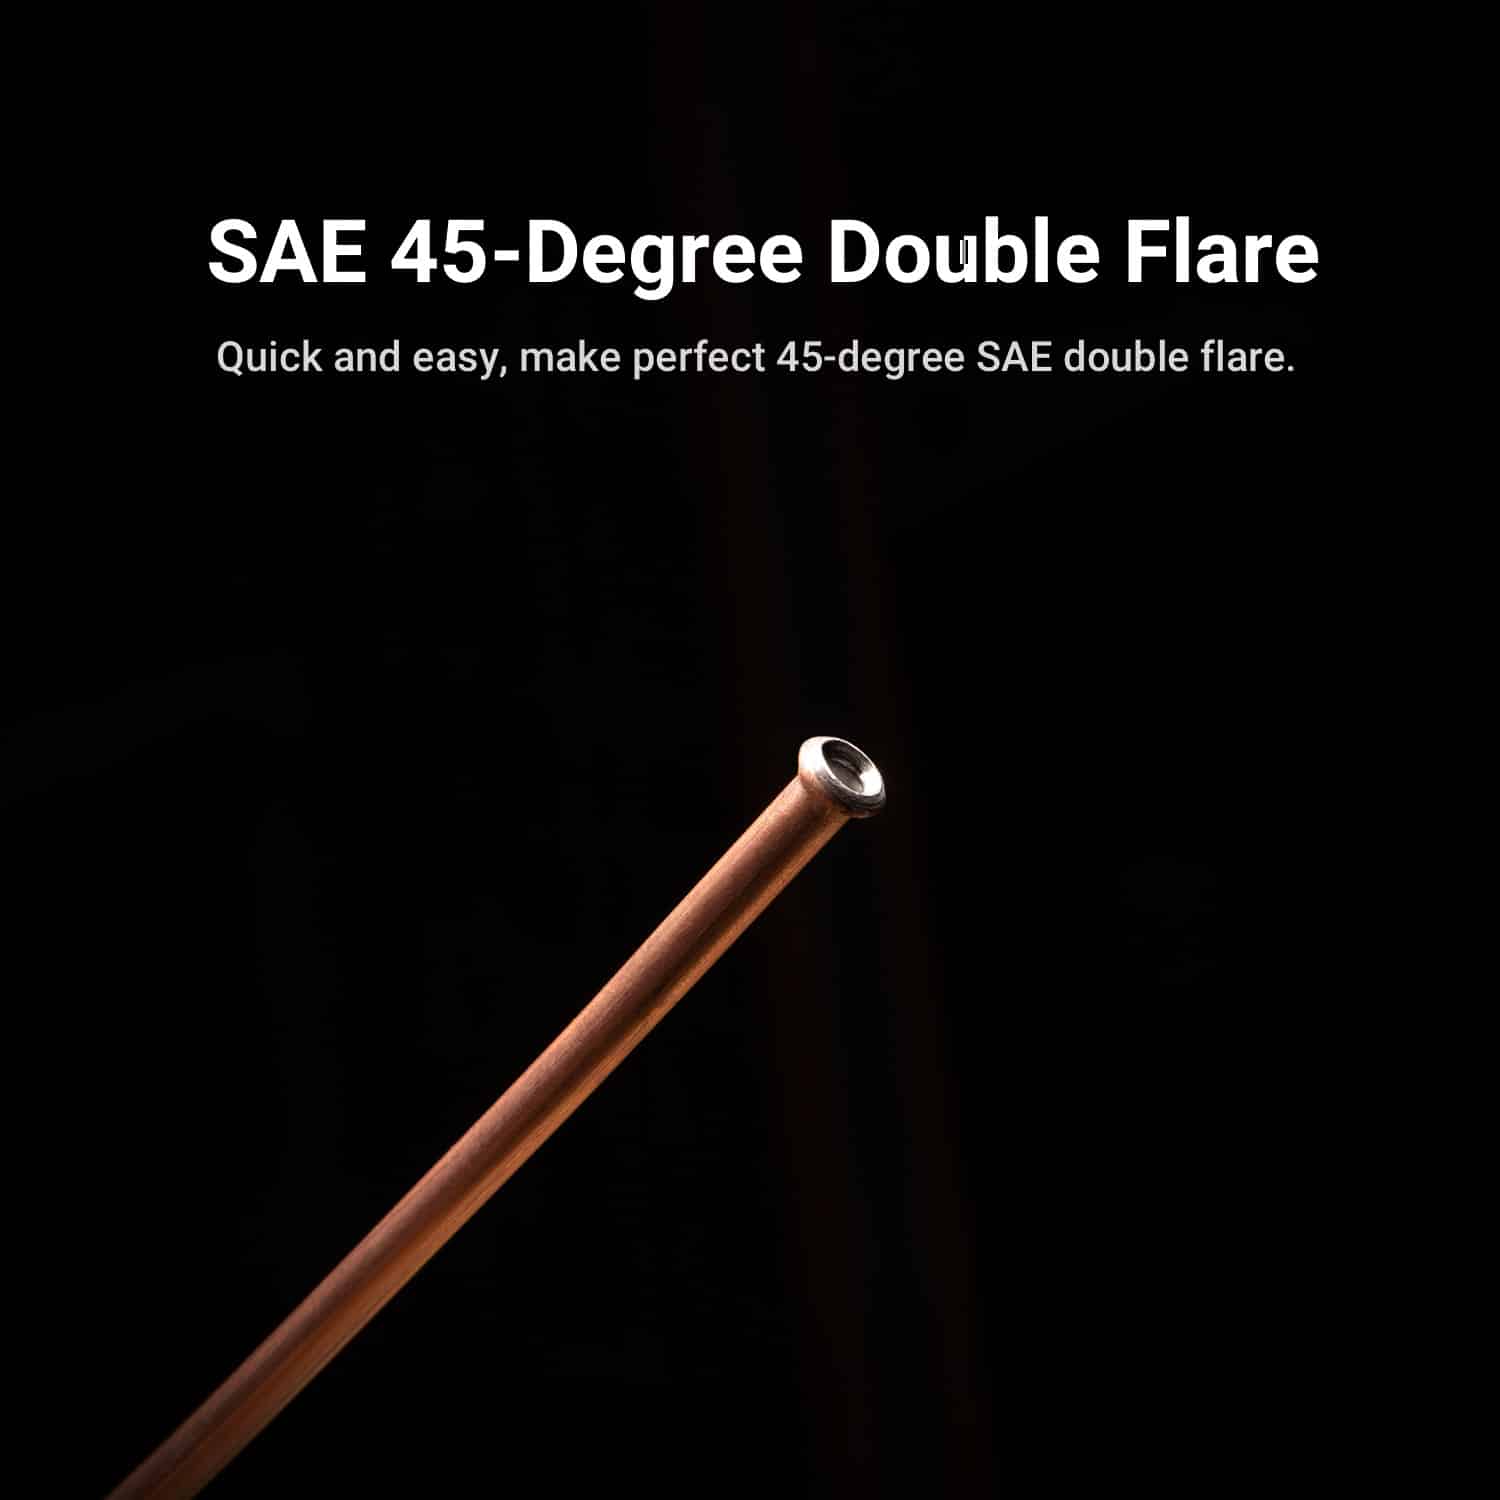
Double Flaring Tool Kit
$49.99
- Sold in the kit or set format identified in the listing.
- Intended use: workshop, repair or assembly tasks.
- Choose by the working end, dimensions and intended application shown in the listing.
THE PRODUCT IN DETAIL
Product Description
Product Overview
Double Flaring Tool Kit is intended for workshop, repair or assembly tasks.
Key Features
- Sold in the kit or set format identified in the listing.
- Intended use: workshop, repair or assembly tasks.
- Choose by the working end, dimensions and intended application shown in the listing.
Benefits & Ideal For
Choose by the working end, dimensions and intended application shown in the listing.
Product Specifications
- Brand
- Capri Tools
How to Use
Use the correct tool for the job and follow any stated load and compatibility limits.
Care & Maintenance
Wipe clean, dry thoroughly and inspect working surfaces before storage.
Product FAQ
What should I check before choosing this model?
Choose by the working end, dimensions and intended application shown in the listing.
Where does this item fit into my routine?
Workshop, repair or assembly tasks.
Additional Product Details
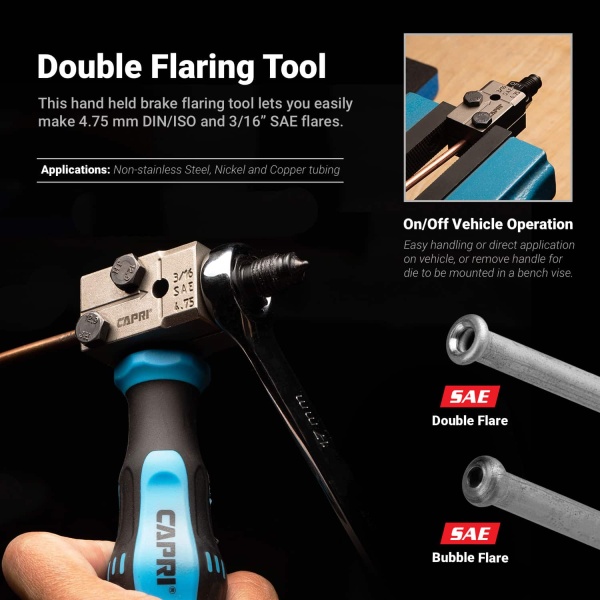
Double Flaring Tool Get the job done in half the time https://www.youtube.com/watch?v=AlILualqjpc Step 1 Loosen Locking Screws Loosen the (2) 10 mm locking screws to allow tubing to be inserted into the tool. Step 2 Flush Tubing with Positioning Bolt Insert tubing through the small opening of the tool. Tighten locking screws lightly. Insert the positioning bolt into the large threaded opening of the tool and tighten. Slide the tubing inward until flush with positioning bolt. Step 3 Tighten Locking Screws With the tubing positioned flush against the positioning bolt, tighten the locking screws to firmly secure the tubing. Unscrew and remove the position bolt. Step 4 Start with the OP1 End and Lubricate the Punch Start with the OP1 end. Lubricate the OP1 end of the punch with the included die lubricant. Step 5 Create Bubble Flare Insert the OP1 end into the large threaded opening of the tool. Tighten the punch with a 17mm wrench. The OP1 punch then makes a bubble flare. Unscrew and remove the punch. Step 6 Create Double Flare Now, lubricate the OP2 end of the punch (opposite of the OP1 end) with the lubricant. Insert the OP2 end into the large threaded opening of the tool. Tighten the punch with a 17mm wrench to complete the double flare. Final Step Unscrew and Remove the Punch Unscrew and remove the punch. Loosen the locking screws to retrieve the tubing from the tool. The 45 degree double flare is now complete. Configurations Model: CP21110-316KT 3/16″ SAE Double Flaring Tool OP1/OP2 Punch Positioning Bolt Lubricant Mini Tube Cutter Tube Bender 17mm Wrench 10mm Wrench Model: CP21110-316 3/16″ SAE Double Flaring Tool OP1/OP2 Punch Positioning Bolt Lubricant Model: CP21110-14 1/4″ SAE Double Flaring Tool OP1/OP2 Punch Positioning Bolt Lubricant Model: CP21110-SD 3/16″ SAE/ 4.75mm DIN Double Flaring Tool OP1/OP2 Punch DIN Punch Positioning Bolt Lubricant
Specifications
| Specifications | Source measurements: 10 mm, 17mm, 10mm, 4.75mm |
|---|
A CLOSER LOOK
Product Gallery Detail
Double Flaring Tool Kit
ORDER PLANNING
Shipping & Delivery
Order cutoff: 2:00 PM Eastern Time. Orders accepted at or after cutoff enter processing on the next business day.
Shipping Policy · 30-day return policy
Refund Processing Time: Within 10 Business Days
The processing period starts once we receive and review the returned item and approve the refund. We issue approved refunds to the original payment method. Your bank or payment provider may take additional time to post the credit to your account.
Product questions
What size tool do I need?
Match the fastener to the tool’s listed drive, measurement system, and opening size. If you are buying a set, check the included sizes against the jobs you plan to do.
How do I check fit or available options?
Use the specifications and any option selectors on this page. If a detail is missing, contact us with the product title or SKU before ordering.
What about shipping and returns?
Product support: [email protected]